Managing PoshC2
Once PoshC2 is setup and running you can find all relevant project data in your project directory under /var/poshc2.
This includes:
- The project configuration file
- The project database if using a local SQLite database
- Log files
- The Apache mod_rewrite rewrite rules for if using a C2 Proxy
- A payloads directory with all the generated payloads. Any additional payloads you want to use in PoshC2 should be placed in here
- Any relevant information on using the payloads, such as DLL entry points, are logged in the C2 Server log when it starts up
- A downloads directory for any files that get downloaded using the Implants
- A reports directory for any reports generated by PoshC2
The C2 Server and Implants are interacted with through the ImplantHandler.
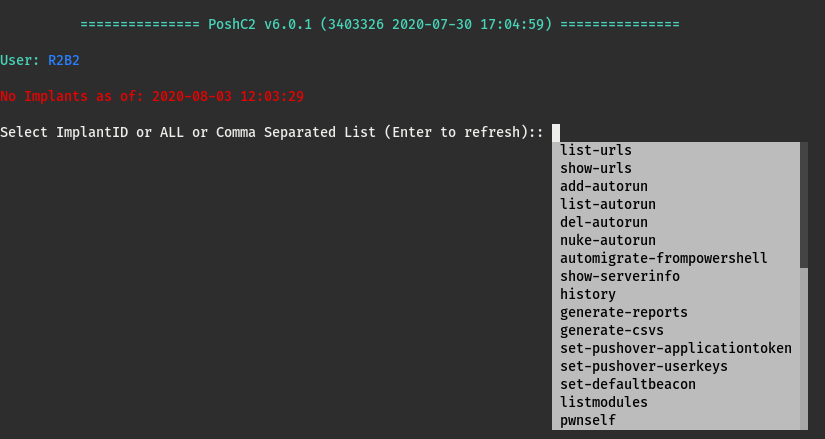
The ImplantHandler features a top-level prompt when an Implant is not selected for interacting with the C2 Server. This prompt can always be reached by entering the back command from an Implant. This prompt receives commands such as enabling or disabling notifications, changing the default beacon time, managing captured credentials, creating new payloads for new URLs or for Proxy or Daisy Implants and more.

Any none-Implant configuration is performed from this prompt, in addition to selecting Implants to work with.
Quitting PoshC2
The Implant-Handler traps Ctrl-c Keyboard Interrupts and resets the prompt so that if you typo a large command, for example, the prompt will just reset much like a terminal shell.
To quit PoshC2, you can send an EOF with Ctrl-d (again the same as a terminal shell), or type the quit command.